Tip: How to change the cut distance of a “rot fix” for an ejector in Expert Moldbase Extension
9. February 2018 | Tips & Tricks
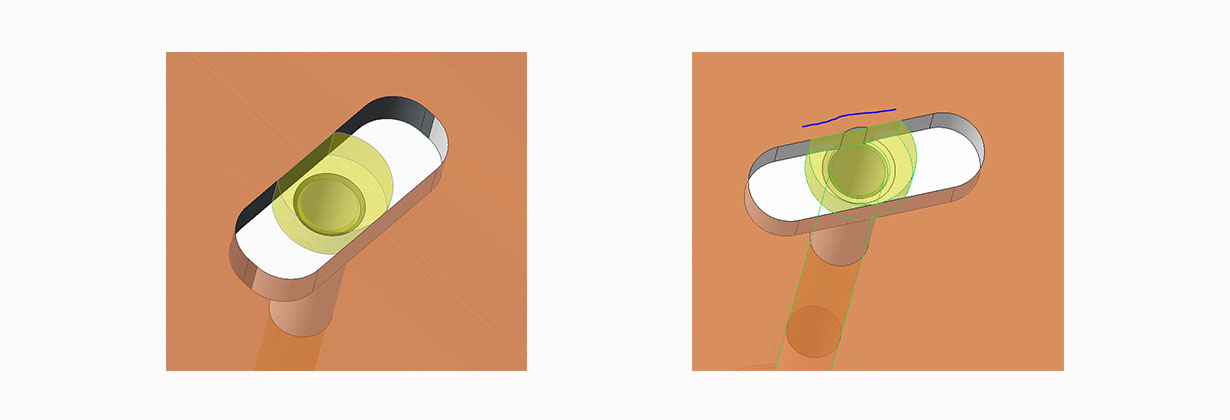
Another answer to a customers question:
When I place ejectors using EMX, the cut which is generated is always very close or coincident with the ejector shaft. See pic:
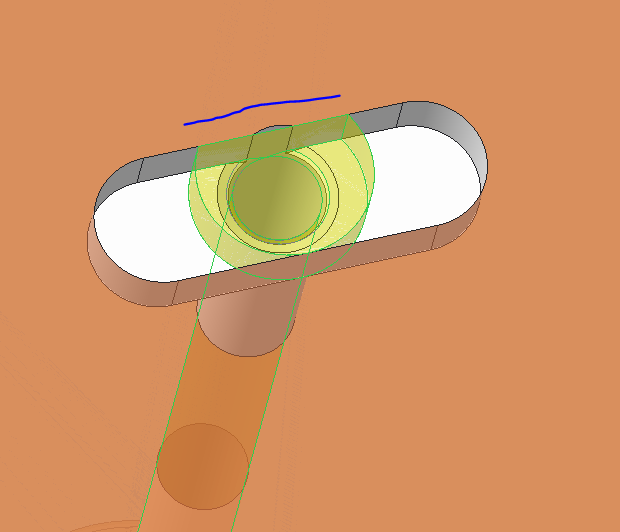
This makes it difficult to add a champfer in the hole.
I would like the distance from center of ejector to rotfix surface to be bigger. See below pic:
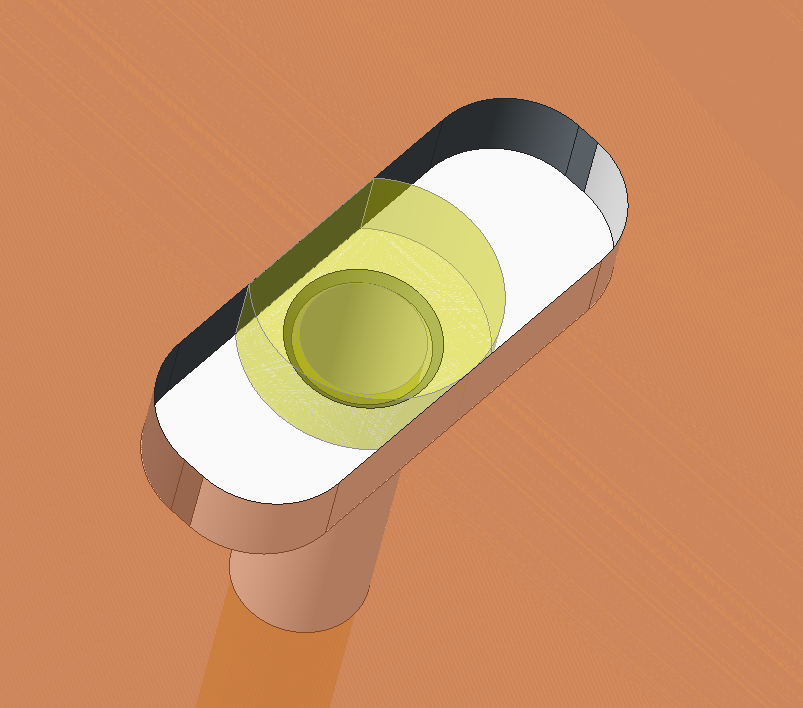
Where can I find the parameter file, from which I can increase this distance?
Here is my answer:
If you have a look to the Component Dialogs bottom area you will find the dimension OFF which is responsible for your described issue.
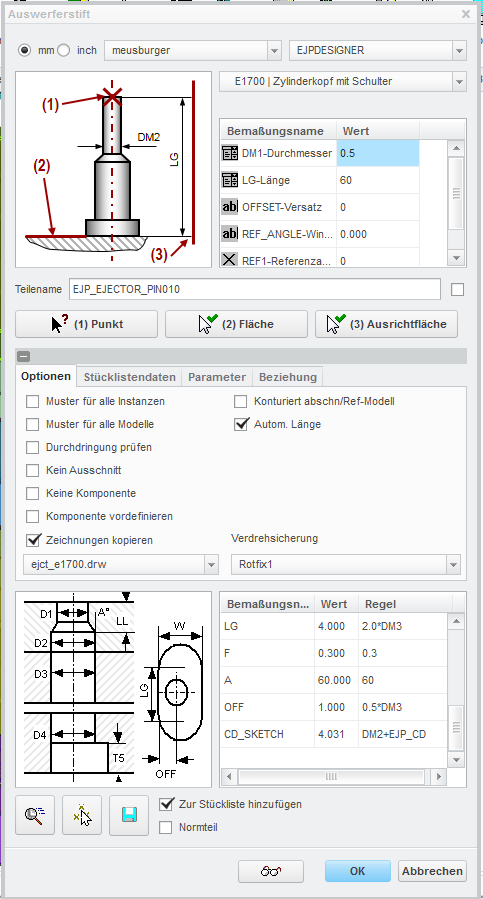
In the last column you will also find a RULE which predefines the OFF value depending on the DM3 Diameter: In this case 0.5*DM3.
This rule is set up in the udf_data.txt file, which can be found here: <emx_intall>\components\mm\ejector\udf
In my example I assemble an ejector pin which uses the template: “ejector_2.prt”
In the udf_data.txt all udfs used for the template type “ejector_2.prt” defined in the Section EMX_UDFS (See picture below)
You will find the udf EJP_CB_FIX1_2 which ist responsible for the cut out of type Rotfix1
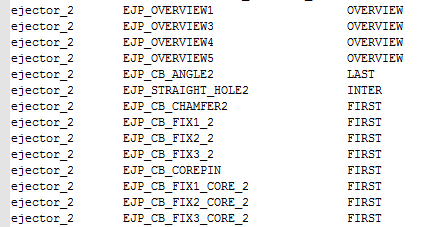
The rules for this UDF are defined in the udf_data.txt a bit further bleow in the the section EMX_UDF_VALUES

You can now either change this rules to maybe to 0.6*DM3 or what ever you like.
Be aware that if you install a new blank EMX Version all these cahnges will be reset to default.
You can use alternativly set the Windows enivroment variable EMX_USER_CONFIG_PATH to point to a custom EMX configuration path there you can place the configuration and the components folder. I recommend to track your changes to the config otherwise future users wont now what was changed and this can cause unexpected behavior.
Regards
Thomas
Tags
This could be interesting for you
-

Meet us at the PTC/USER Global Summit 2025 in New Orleans!
10. January 2025 | Fairs & Events -

Future of B&W has begun
9. October 2024 | Updates -

No security alert of B&W License Server 11.19.1.0 regarding lmadmin
29. January 2024 | Tips & Tricks -

Potential issues in running B&W Software products in Creo 9.0 and 10.0
18. January 2024 | Updates -

Meet us at the PTC/USER Global Summit 2024 in Orlando!
25. September 2023 | Fairs & Events -
User Event Tooling 2023
23. August 2023 | Fairs & EventsUpdates -
Successful Windchill implementation project
26. October 2021 | Updates -
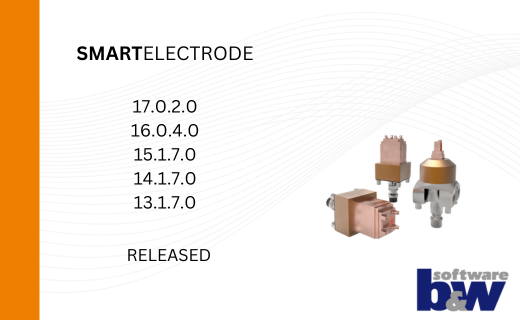
New SMARTElectrode Versions released
15. January 2025 | Updates -
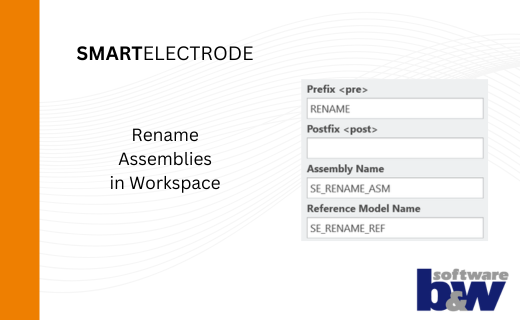
Rename Assemblies in Workspace
15. January 2025 | Tips & Tricks -
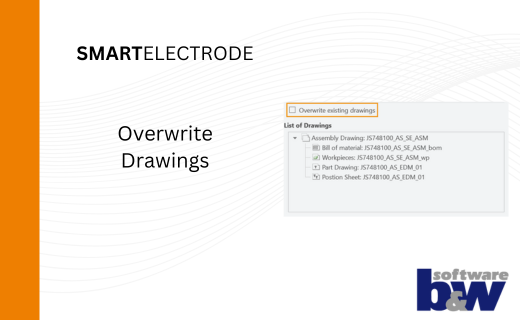
Overwrite Existing Drawings in SMARTElectrode
15. January 2025 | Tips & Tricks -
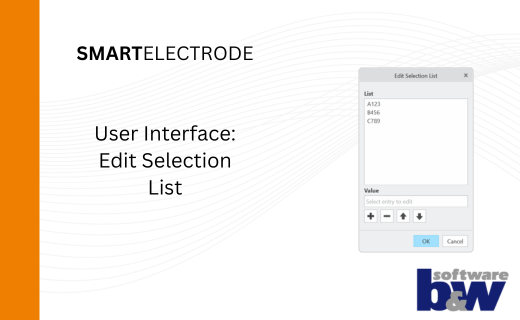
New User Interface to Edit Selection Lists in SMARTElectrode
15. January 2025 | Tips & Tricks -
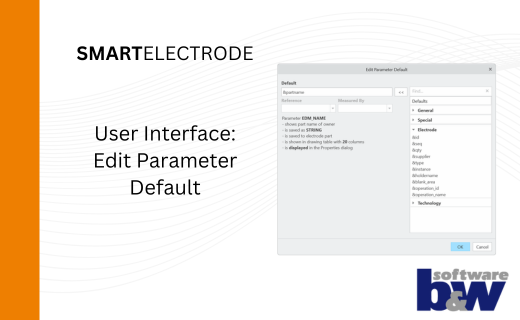
New User Interface to Edit Parameter Defaults in SMARTElectrode
15. January 2025 | Tips & Tricks -
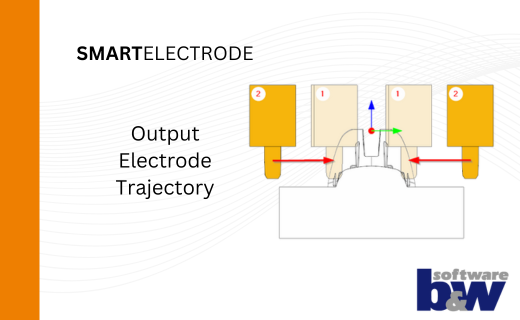
New Parameters to Output Trajectory in SMARTElectrode
15. January 2025 | Tips & Tricks -
New Version for Expert Moldbase Extension EMX 17.0.4.0, 16.0.8.1, 15.0.4.8, 14.0.4.8 available!
14. January 2025 | Updates -
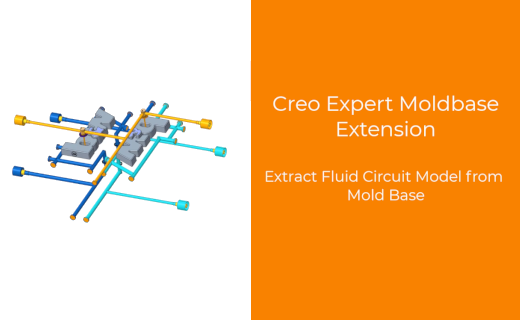
Enhancement of the Function for Generating the Fluid Circuit models in Expert Moldbase Extension
14. January 2025 | Updates -
SMARTHolechart 13.0.1.6 / 14.0.1.6 / 15.0.0.5 / 16.0.8.0 / 17.0.4.0
7. January 2025 | UpdatesUpdates -
IFX Versions 8.0.12.0 / 10.0.7.0 / 11.0.3.0: Enhancements and Bug Fixes
17. December 2024 | UpdatesUpdates -

Recap: MBD TALK&TOOLS at B&W 2024
15. November 2024 | Fairs & Events